Revitalize Your Pavers: Effective Sealing and Restoration Tips
- Michael Albritton
- Sep 11, 2025
- 4 min read

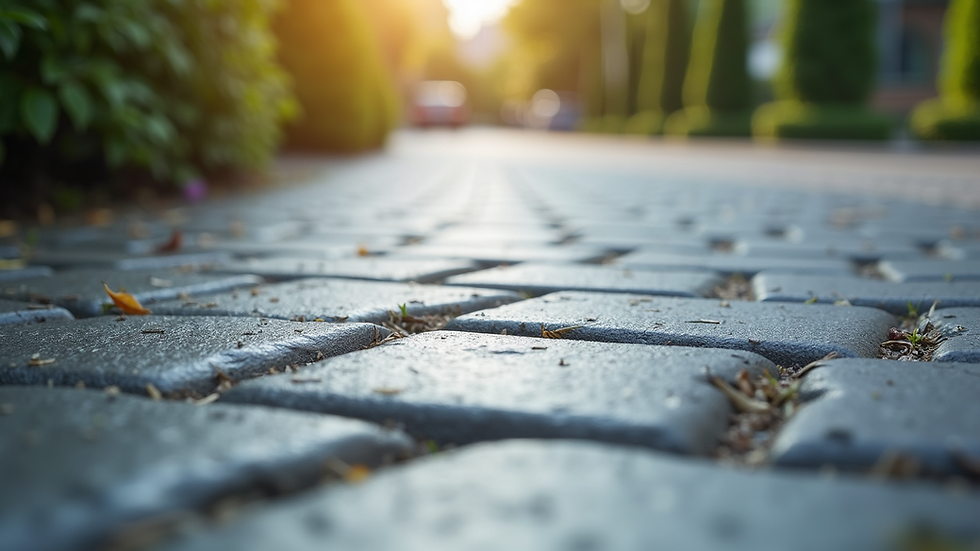
Pavers can transform any outdoor space into a beautiful and functional area. However, over time, they can become dull, stained, and worn. If you want to keep your pavers looking fresh and vibrant, sealing and restoring them is essential. In this post, we will explore effective tips for revitalizing your pavers, ensuring they remain a stunning feature of your home.
Understanding Paver Sealing
Paver sealing is a protective process that involves applying a sealant to the surface of your pavers. This sealant acts as a barrier against moisture, stains, and UV rays. It helps to maintain the color and integrity of the pavers, making them easier to clean and maintain.
Benefits of Sealing Your Pavers
Sealing your pavers offers several advantages:
Protection from Stains: Sealants prevent oil, dirt, and other substances from penetrating the paver surface.
Enhanced Color: A good sealant can enhance the natural color of your pavers, making them look more vibrant.
Reduced Weeds and Moss: Sealing can help prevent the growth of weeds and moss between the pavers.
Longevity: Regular sealing can extend the life of your pavers, saving you money in the long run.
When to Seal Your Pavers
Timing is crucial when it comes to sealing your pavers. Ideally, you should seal them:
After Installation: New pavers should be sealed within 30 days of installation to protect them from stains and damage.
Every 1-3 Years: Depending on the type of sealant used and the amount of foot traffic, resealing every one to three years is recommended.
After Cleaning: Always seal your pavers after a thorough cleaning to ensure the sealant adheres properly.
Preparing Your Pavers for Sealing
Before applying a sealant, proper preparation is key. Here are the steps to follow:
Clean the Surface: Use a pressure washer or a stiff broom to remove dirt, debris, and stains. For tough stains, consider using a paver cleaner.
Allow to Dry: Ensure the pavers are completely dry before applying the sealant. This may take a few hours or even a day, depending on the weather.
Repair Any Damage: Check for cracks or loose pavers. Repair these issues before sealing to ensure a smooth finish.
Choosing the Right Sealant
Not all sealants are created equal. Here are some factors to consider when choosing a sealant for your pavers:
Type of Sealant: There are two main types of sealants: film-forming and penetrating. Film-forming sealants create a protective layer on the surface, while penetrating sealants soak into the pavers for a more natural look.
Finish: Sealants come in different finishes, including matte, satin, and gloss. Choose a finish that complements your pavers.
UV Protection: Look for sealants that offer UV protection to prevent fading from sunlight.
Applying the Sealant
Once you have chosen the right sealant, it is time to apply it. Follow these steps for a successful application:
Choose the Right Day: Pick a dry day with mild temperatures for application. Avoid windy days, as dust can settle on the wet sealant.
Use the Right Tools: A roller or sprayer is ideal for applying sealant. A brush can be used for edges and corners.
Apply Evenly: Start at one corner and work your way across the area. Apply the sealant evenly to avoid streaks.
Allow to Dry: Follow the manufacturer's instructions for drying time. Avoid foot traffic until the sealant is fully cured.
Restoring Worn Pavers
If your pavers are showing signs of wear, restoration may be necessary. Here are some effective restoration tips:
Cleaning
Start with a deep clean. Use a pressure washer to remove dirt, grime, and stains. For stubborn stains, consider using a specialized paver cleaner.
Replacing Damaged Pavers
If you notice any cracked or broken pavers, replace them. This will not only improve the appearance but also prevent further damage.
Re-Sanding
After cleaning, you may need to re-sand the joints between the pavers. This helps to stabilize them and prevent shifting. Use polymeric sand for the best results, as it hardens when wet and helps to keep weeds at bay.
Resealing
Once your pavers are clean and any damaged ones are replaced, it is time to reseal. Follow the sealing steps outlined earlier to ensure your pavers are protected and looking their best.
Maintaining Your Sealed Pavers
After sealing your pavers, regular maintenance is essential to keep them looking great. Here are some tips:
Regular Cleaning: Sweep or wash your pavers regularly to remove dirt and debris.
Address Stains Quickly: If you notice any stains, clean them immediately to prevent them from setting in.
Inspect for Damage: Regularly check for any cracks or loose pavers and address them promptly.
Common Mistakes to Avoid
When sealing and restoring pavers, there are some common mistakes to avoid:
Sealing Too Soon: Ensure your pavers are completely dry before sealing. Sealing too soon can trap moisture and lead to issues.
Using the Wrong Sealant: Always choose a sealant that is appropriate for your type of pavers.
Skipping Maintenance: Regular maintenance is key to prolonging the life of your pavers. Don’t neglect it.
Final Thoughts on Paver Care
Revitalizing your pavers through effective sealing and restoration can significantly enhance your outdoor space. By following the tips outlined in this post, you can ensure your pavers remain beautiful and functional for years to come.
Investing time and effort into maintaining your pavers will pay off in the long run. Not only will they look great, but they will also add value to your home. So, roll up your sleeves and get started on revitalizing your pavers today!


Comments